Fixing a trampoline net has never been easier, thanks to the trampoline net repair kit. With its user-friendly design and comprehensive instructions, you can mend torn or frayed nets quickly. The kit provides essential tools and high-quality materials, ensuring your trampoline is safe for endless fun.
Experience the satisfaction of restoring your trampoline’s net to its former glory following this guide on how to fix trampoline net, all while saving time and money with this indispensable solution.
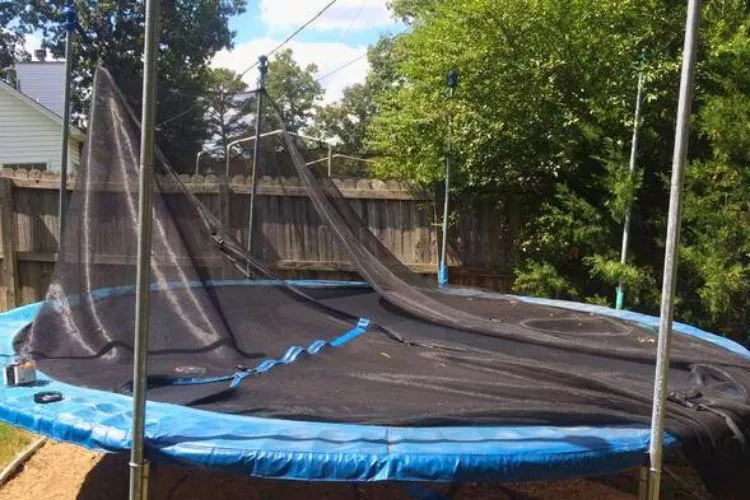
How To Fix Trampoline Net: Different Methods
The repair kit typically includes durable, weather-resistant materials and simple-to-follow instructions, making the process a breeze even for the least handy among us. With just a few basic tools and time, you can restore your trampoline net to its former glory and return to bouncing fun in no time.
1. Using Trampoline net Repair Kit
How to Fix a Trampoline Net Using a Trampoline Repair Kit: A Step-by-Step Guide:
Trampoline net repair kits make it a breeze to mend any damages and prolong the lifespan of your trampoline. Follow these simple steps to fix your trampoline net and ensure safety for everyone.
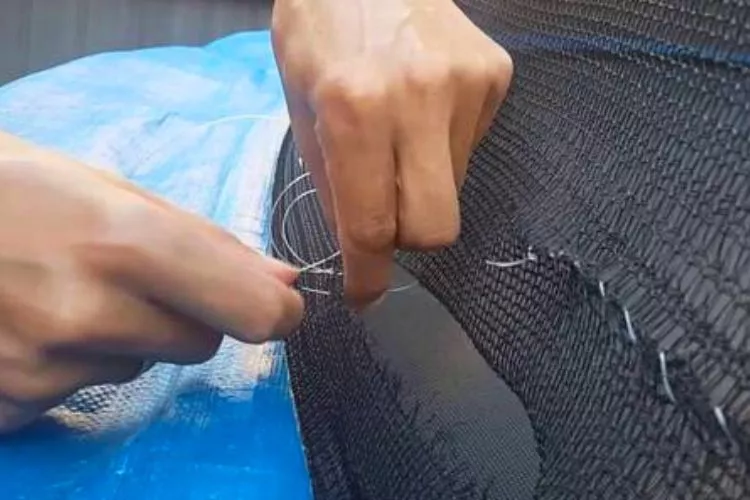
Step 1: Assess the Damage
Begin by examining the trampoline net to identify all tears, holes, or frayed edges that require repair. Take note of the size and location of each issue.
Step 2: Gather Your Repair Kit and Tools
Assemble your trampoline net repair kit, including patch materials, adhesive, and any necessary tools like scissors, a needle and thread, or a measuring tape. Ensure you have everything you need before starting the repair process.
Step 3: Clean the Damaged Area
Using a damp cloth or sponge, clean the damaged area to remove any dirt or debris. This will ensure a strong bond between the patch material and the trampoline net.
Step 4: Measure and Cut Patch Material
Measure the size of each damaged area and cut the patch material accordingly, leaving an extra inch on all sides for a secure fit.
Step 5: Apply Adhesive
Following the instructions in the repair kit, evenly apply adhesive to one side of the patch material. Use enough adhesive to cover the entire surface without making it too thick or goopy.
Step 6: Position the Patch
Carefully position the patch over the damaged area, ensuring the adhesive side faces the trampoline net. Smooth any wrinkles or bubbles and press firmly to secure the patch.
Step 7: Sew the Patch (Optional)
For added strength and durability, you may sew the patch onto the net using a needle and thread. This is especially recommended for larger holes or tears.
Step 8: Allow Adhesive to Dry
Allow the adhesive to dry completely as per the repair kit’s instructions. Depending on the product used, this may take several hours or even overnight.
Step 9: Inspect the Repair
Once the adhesive is dry, inspect the repair to ensure it is secure and properly bonded. Repeat the process with additional patches until all damages are fixed.
With these easy steps, you can quickly and effectively fix your trampoline net using a trampoline repair kit. Enjoy the peace of mind that comes with a safe and well-maintained trampoline.
2. Using Fishing Line

Step 1: Gather Your Materials
- Trampoline net with a tear or hole
- Fishing line (strong and durable)
- Scissors
- Sewing needle (large enough for the fishing line)
- Lighter (optional)
Step 2: Inspect the Damage
Examine the trampoline net to determine the extent of the damage. Identify the tears or holes needing repair, and ensure the surrounding netting is still strong and secure.
Step 3: Thread Your Needle
Cut a length of fishing line about 3 times the length of the tear. Thread the line through the sewing needle, leaving a tail of about 6 inches. If desired, use a lighter to slightly melt the end of the fishing line, making it easier to thread.
Step 4: Start Sewing
Pull the edges of the tear together, aligning the netting as closely as possible. Starting at one end of the tear, insert the needle through both edges, pulling the fishing line tight to secure the netting together. Leave a small loop at the end of the line for tying a knot later.
Step 5: Stitch Along the Tear
Continue sewing along the tear using a tight whipstitch or overhand stitch, ensuring the netting is held securely. Keep the stitches as close together as possible for added strength.
Step 6: Secure the End
Once you’ve reached the end of the tear, loop the fishing line through the last stitch a few times to secure it. Tie a knot using the loop you left at the fishing line’s beginning and the tail end.
Step 7: Trim Excess Fishing Line
Use scissors to trim any excess fishing line, leaving about a 1-inch tail. If desired, use a lighter to slightly melt the ends of the fishing line to prevent fraying.
Step 8: Test the Repair
Gently tug on the repaired area to ensure the stitches hold and the net is secure. Your trampoline net is now fixed and ready for use!
3. Using Upholstery Thread
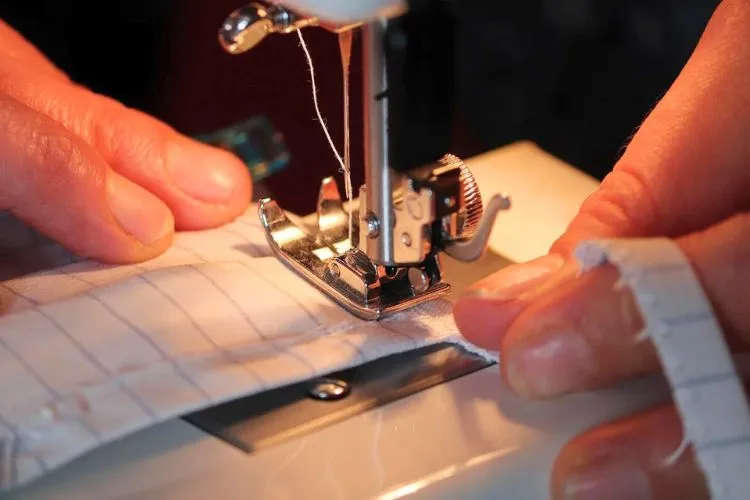
Step 1: Gather Your Materials
- Trampoline net with a tear or hole
- Upholstery thread (strong and durable)
- Scissors
- Sewing needle (large enough for the upholstery thread)
- Thimble (optional)
Step 2: Inspect the Damage
Examine the trampoline net to determine the extent of the damage. Identify the tears or holes needing repair, and ensure the surrounding netting is still strong and secure.
Step 3: Thread Your Needle
Cut a length of upholstery thread about 3 times the length of the tear. Thread the needle with the upholstery thread, doubling it up for added strength, and tie a knot at the end of the thread.
Step 4: Start Sewing
Pull the edges of the tear together, aligning the netting as closely as possible. Starting at one end of the tear, insert the needle through both edges, pulling the thread tight to secure the netting together.
Step 5: Stitch Along the Tear
Continue sewing along the tear using a tight whipstitch or overhand stitch, ensuring the netting is held securely. Keep the stitches as close together as possible for added strength. Use a thimble if needed to push the needle through the netting.
Step 6: Secure the End
Once you’ve reached the end of the tear, loop the thread through the last stitch a few times to secure it. Tie a final knot and cut off any excess thread, leaving a small tail.
Step 7: Test the Repair
Gently tug on the repaired area to ensure the stitches hold and the net is secure. Your trampoline net is now fixed and ready for use!
4. how to fix trampoline net Using Duct Tape
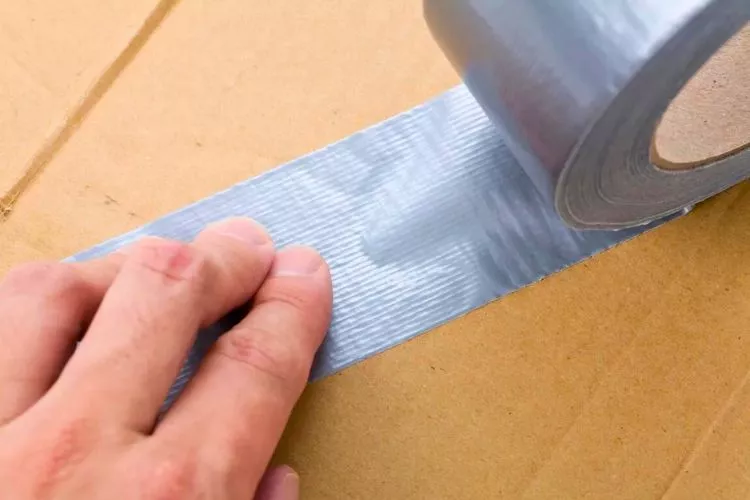
Step 1: Gather Your Materials
- Trampoline net with a tear or hole
- Duct tape (strong and durable)
- Scissors
- Clean cloth or rag
- Rubbing alcohol or mild soapy water
Step 2: Inspect the Damage
Examine the trampoline net to determine the extent of the damage. Identify the tears or holes needing repair, and ensure the surrounding netting is still strong and secure.
Step 3: Clean the Area
Using a clean cloth or rag, gently clean the area surrounding the tear or hole with rubbing alcohol or mild soapy water. This will help the duct tape adhere better to the netting. Allow the area to dry completely before proceeding.
Step 4: Cut Duct Tape Strips
Cut two strips of duct tape, each about 4 inches longer than the length of the tear or hole. This will ensure the tape has enough surface area to securely adhere to the netting.
Step 5: Apply the First Strip
Align the edges of the tear or hole as closely as possible. Carefully place one strip of duct tape over the tear, ensuring that it extends evenly on both sides of the damaged area. Press the tape firmly onto the netting, making sure it adheres well.
Step 6: Apply the Second Strip
Turn the net around to access the other side of the tear or hole. Apply the second strip of duct tape directly over the first strip, again ensuring it extends evenly on both sides of the damaged area. Press the tape firmly onto the netting.
Step 7: Secure the Edges
Use your fingers or a flat object to press down the duct tape strips’ edges, ensuring they adhere securely to the netting.
Step 8: Test the Repair
Gently tug on the repaired area to ensure the duct tape holds and the net is secure. Your trampoline net is now fixed and ready for use!
How do you take the top off a trampoline net?
To safely and effectively remove the top of a trampoline net, follow these six essential steps:
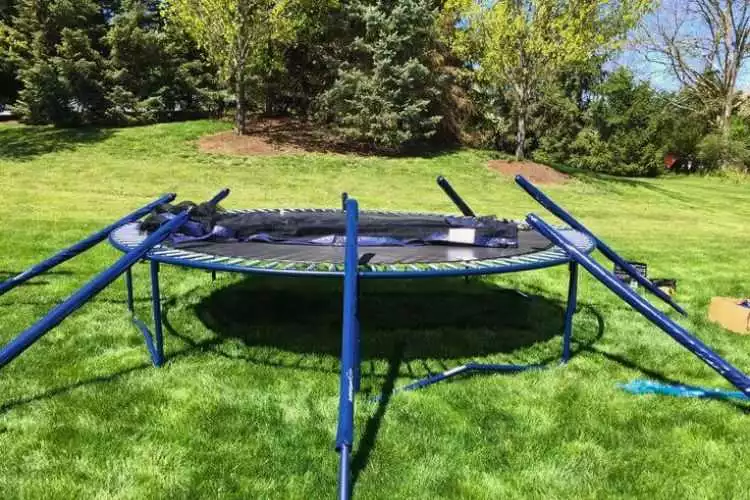
- Preparation: Before you begin, ensure the trampoline is on a flat surface with ample surrounding space. Gather necessary tools like a ladder, safety gloves, and a partner if possible.
- Disconnect the net: Locate the clips or ties attaching the net to the trampoline frame. Carefully release these attachments, working your way around the trampoline’s circumference.
- Detach the poles: Identify the securing mechanism holding the poles to the trampoline frame (typically bolts, screws, or push buttons). Loosen or disengage the mechanism to free the poles. Use a lubricant or appropriate tool to deal with rusted or tightly fastened connections.
- Lower the poles: With a partner, hold them and carefully lower them to the ground, preventing the net from tangling. If alone, lower each pole one at a time, ensuring the net remains untangled.
- Roll up the net: Once all poles are down, gently roll the net to avoid damage and ease future reinstallation.
- Store safely: Store the detached net and poles in a dry, cool area to prevent damage and prolong their lifespan.
Following these steps will effectively and safely remove the top off a trampoline net.
How do you attach a trampoline net to springs?
Attaching a trampoline net to springs involves the following steps:
- Preparation: Position the trampoline on a flat surface, ensuring ample space around it. Gather necessary tools like safety gloves and a helper if possible.
- Assemble the net: Unfold the trampoline net and locate the top and bottom edges. The top edge will have loops or straps to connect to the poles, while the bottom edge will have hooks or straps to attach to the springs.
- Install the poles: If your trampoline requires poles, install them onto the frame before attaching the net. Secure the poles to the frame using the provided hardware, such as bolts or screws.
- Attach the top of the net: Connect the loops or straps at the top edge of the net to the poles, working your way around the trampoline. Ensure the net is evenly distributed and untangled.
- Connect the bottom of the net: Starting at one point, attach the hooks or straps on the bottom edge of the net to the springs, working clockwise around the trampoline. Make sure the net remains taut and untangled throughout the process.
- Test the net: After attaching the net to all springs, gently tug on it to ensure a secure and even connection.
Following these steps, you can effectively attach a trampoline net to springs, ensuring a safe jumping environment.
What kind of glue do you use to repair a trampoline?
To repair a trampoline effectively, choosing the right glue is crucial. Different parts of the trampoline may require specific adhesives, but a strong, flexible, and weather-resistant glue is generally ideal. Here are three types of glue suitable for trampoline repair:
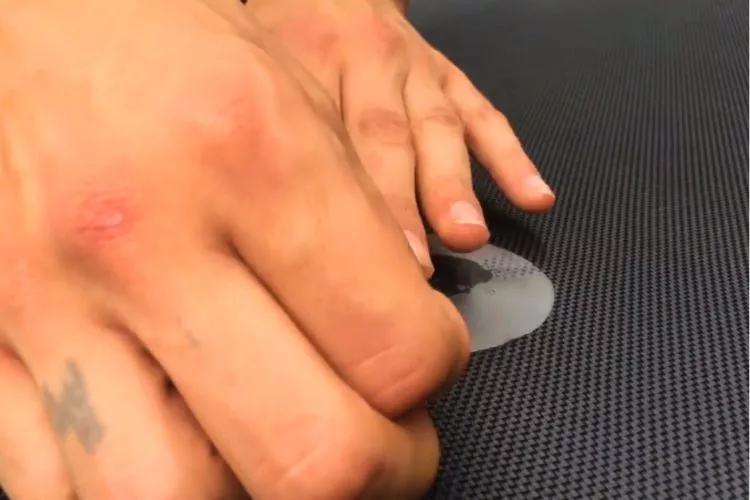
- If you need to patch a hole or tear in the trampoline’s jumping mat or safety pad, opt for a vinyl adhesive. This type of glue is specifically designed to bond with vinyl materials, providing a durable and flexible repair.
- Epoxy resin: For repairing metal parts or plastic components, such as a cracked enclosure pole, use epoxy resin. This adhesive forms a strong bond and can withstand weather conditions, making it suitable for outdoor use.
- Marine-grade adhesive sealant: If you’re fixing seams or attaching a new safety pad to the trampoline frame, a marine-grade adhesive sealant is an excellent choice. It is designed for wet environments and provides a strong, flexible bond that can endure outdoor conditions.
Before applying any glue, ensure the surfaces are clean, dry, and debris-free. Always follow the manufacturer’s instructions for best results and allow adequate drying time for a secure bond.
If you have problems with trampoline mat: How to Clean a Trampoline Mat? | How to Patch a Trampoline Mat Hole
Conclusion:
In conclusion, maintaining and repairing a trampoline net is crucial to ensuring a safe and enjoyable jumping experience. By regularly inspecting the net for damage, addressing issues promptly, and using the appropriate repair techniques and materials, you can extend the life of your trampoline and provide a secure environment for users. Remember to follow the manufacturer’s guidelines and prioritize safety measures during the repair process. With proper care and maintenance, your trampoline net will continue to provide hours of fun and exercise for your family and friends.


