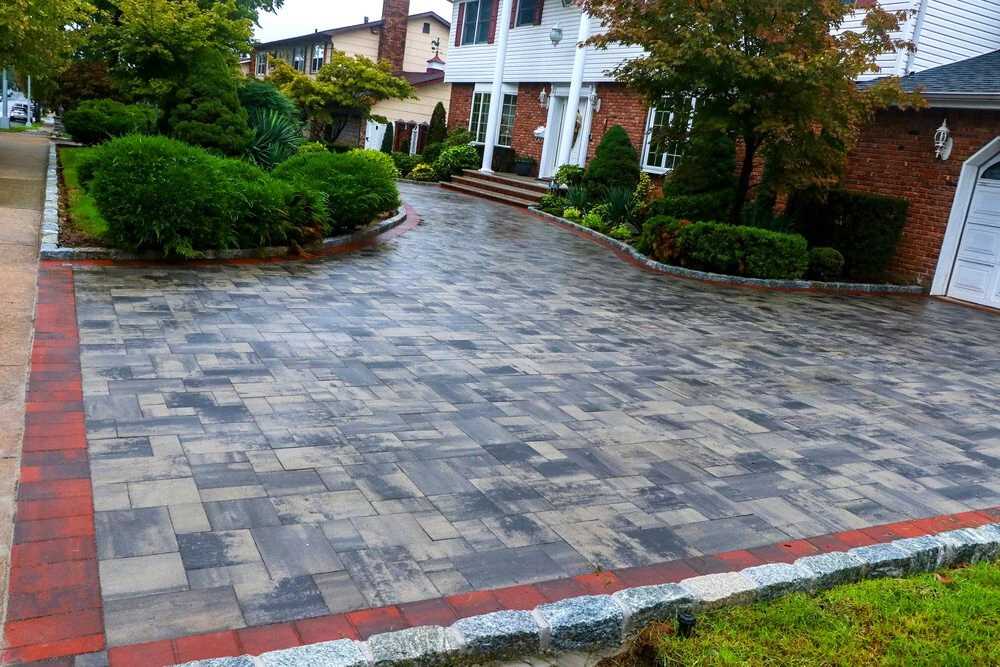
Paver blocks are one of the most popular and flexible options for building the exterior area of your building complex. They are better than a concrete patio, as the concrete is prone to break or can have cracks. Paver blocks are attractive, durable, easy to maintain, and slip/skid resistant.
Paver blocks offer a variety of designs and will add striking beauty to your outdoor flooring. They are easy to set without any special equipment or tool. However, keeping them in place is also important, and that’s why one must learn how to keep pavers from sinking.
In this article, I am going to mention a few easy to follow steps which will help you to keep your pavers from sinking or shifting without much of a hassle.
It’s also worth mentioning here that replacing a paver block is also very easy. A broken paver block can be restored to its previous appearance effortlessly.
How to Keep Pavers From Sinking?
If you want to beautify your outdoor space, the best option is to use pavers. They are easy to install, provided you place them correctly to give a neat appearance. Check carefully to interlock the pavers at the correct angle after laying the base substrate. Ensure you fill in the joints appropriately to keep them bound for a long time. Use sand as the base layer to attach the pavers as it helps the pavers to stay in place without shifting or sinking.
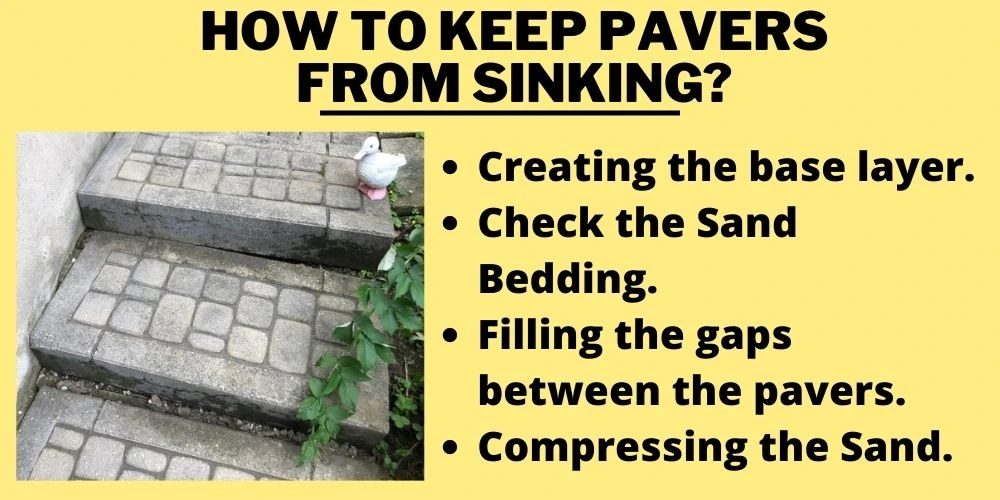
Let’s look in a stepwise manner to help you master how to keep pavers from sinking.
1. Creating the base layer
Ingredients required:
- Crushed rock or gravel.
- Sand with unevenly sized grains.
- Soil Compactor machine or Rammer Compactor.
Create a base layer using a porous substance like crushed rock or gravel. Water will pass away easily from this layer, preventing water stagnation below the pavers. The rock at the base will serve as a strong foundation for the sand layer.
Now lay the sand on top of the gravel to cover a few inches of the space. Press it down with the help of the compactor. Repeat to add another layer of sand and compact it down. Since the compactor will compress a few inches of layers at a time, it’s essential to repeat the process twice to create a strong base.
2. Check the Sand Bedding
Once you have compacted the sand bedding it should feel more taut and solid. Walking on this will minimize the chances of creating small pits for payers, and laying them will be hard.
Now the next step is to add another layer of sand of approximately 1-inch thickness, making the paver sit on it. This layer of sand shouldn’t be compacted. It is going to act as a cushion for the pavers. The bedding layer provides support beneath the pavers and edges and prevents the washing away of pavers. Use the same sand used in creating the base layer.
3. Filling the gaps between the pavers
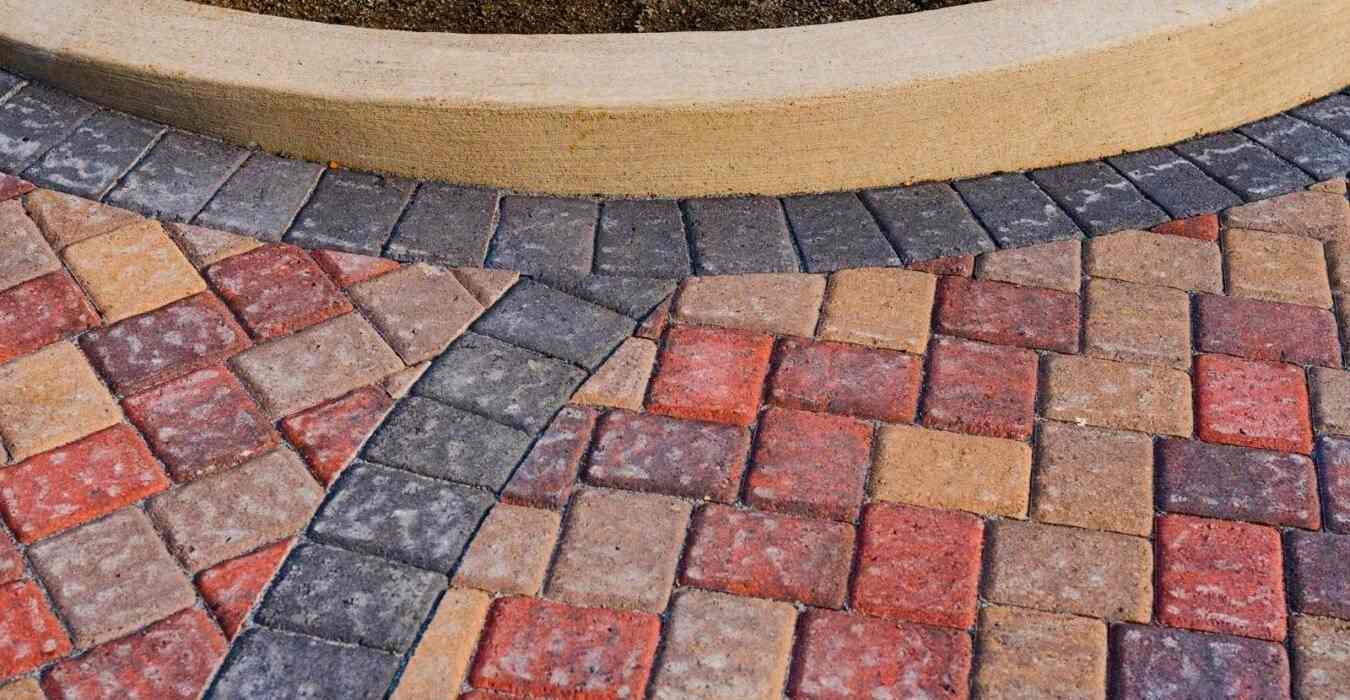
Now that you have placed the pavers, it’s not time to fill the gaps in between the pavers to lock them. Spread a good quantity of sand over the top of the pavers and push the sand on the surface between the paver joints using a push broom. Ensure you have filled all the paver gaps with a substantial amount of sand. Check and repeat wherever you feel there’s space between the lock that can accommodate more sand.
Use the same kind of sand used in the 1st and 2nd steps. The gaps filled with varying grain sizes produce friction that locks the pavers by creating a strong and compact bond.
An alternative option is to use polymeric sand having water-activated polymer in it. It is a specialty product. Once you add this sand to the paver joints, wet it to activate the polymer within it to get the sand hardened.
This hardened sand can withstand heavy rain or any other strong force of water. It is a perfect way to seal the joints and eliminates the worry of replacing the sand often.
4. Compressing the Sand
You should ensure to fill in the paver joints multiple times and use the compactor to push the sand further down. Wherever there is extra air, the sand will move down and allow you to fill in the additional sand. The compactor won’t damage the paver but will help to settle down the pavers tightly along with the sand in the paver joints.
That’s it. Now you know how to keep pavers from sinking.
How do I Raise My Sinking Pavers?
There may be instances when you notice sunken pavers. These pavers may create ugly water puddles. Soil drainage may be uneven in some places, which results in your pavers sinking from time to time. You can fix the sunken pavers by following the process detailed below.
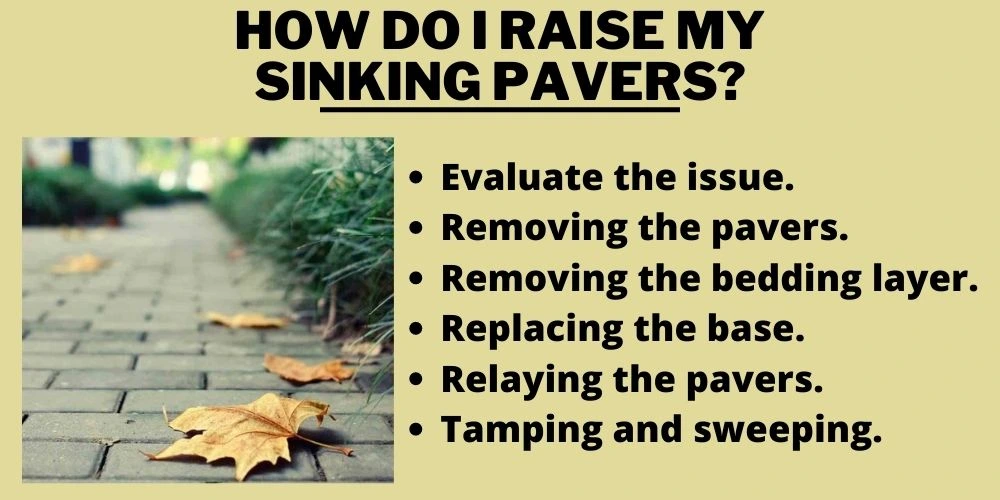
1. Evaluate the issue
To need to evaluate the issue and the actual reason for the sunken paver. The most common reason for the sinking of pavers is a lack of water drainage and extra bedding sand.
The solution is to remove the paving stones and sand bedding, add and tamper new gravel, then add new sand before laying the pavers again.
2. Removing the pavers
Now remove the pavers. Pull the pavers up to 12 to 16” around the sunken paver area in a periphery. It will help to maintain a good reference with the grade. Here grade is how you regulate a slope to redirect water to flow in a particular direction.
Use putty knives, screwdrivers or paver pull to remove the first paver. Putty knives are a better option as they are widely available, and lifting the paver with them is easy due to their broad surface area.
3. Removing the bedding layer
Now is the time to remove the old sand from the base. Ensure to leave some sand around the border for a reference point. Scrape When you remove the sand, scrape moss and sand off to the uncovered perimeter. Doing this will form a tight seal when you place the pavers again. The next step is to work on the gravel layer.
4. Replacing the base
Fill up the pit with gravel and compress it back to grade. Once you are sure about the gravel being compressed and taut, level it with the remaining hardscape and add the new concrete sand. Now spread to level the surface with a trowel.
5. Relaying the pavers
Now it’s time to set the pavers as you had done previously. Knocking the pavers together before laying will loosen any debris and increase the interlock between the pavers.
6. Tamping and sweeping
Tamping the stones will compact the pavers. It will enable the pavers to form a tight bond with the base layer, preventing the pavers to sink further.
Continue the process of tamping-sweeping-tamping, till all the paver joints are filled with enough sand and unable to hold any extra sand.
Frequently Asked Questions (FAQs)
What do you put around pavers to hold them in place?
You should put sand of varying grain sizes to hold the pavers in their place.
Should you put plastic under the pavers?
No, it’s a bad idea. Plastic will hold water and make the firm paver unstable someday.
Should you put drainage under the pavers?
Yes, for the water to drain away and not remain stagnant under the pavers, it’s essential to arrange for a drainage system under the pavers.
What kind of sand do you use under pavers?
The sand of irregular grain sizes is used under the pavers.
What is the best thing to put between pavers?
The best thing to be put between the pavers is the same sand of varying grain sizes, which is used for the sand bedding beneath the pavers.
How much do pavers sink when compacted?
The pavers sink to about 30% when compacted.
Conclusion
Pavers are one of the most flexible options for your outdoor flooring. They add a good appearance to your outdoors, and you can install them without any special tools or equipment.
The best part of a paver is that you can replace a single paver also if it gets loose or damaged.
Pavers need to be installed in a systematic way to avoid them sinking. Else, it can be a tedious task to remove the entire flooring and again replace it with a new base layer. It’s good that now you have mastered the art of how to keep pavers from sinking.
You may share your knowledge with the people in need, or you may consider sharing this article with them.

