A tiller is an efficient and easy-to-use tool for removing weeds in gardens and flower beds. Tillers are better than other weed removal methods as they allow you to cultivate well-aerated soil while preventing weed growth. With the help of a tiller, you can effectively break up hard chunks of soil and loosen compacted soil, resulting in a well-drained root zone that encourages healthy plant growth. Below I have written a complete guide on how to use a tiller to remove weeds.
A tiller will also make it easier to remove existing weeds from your garden, as the rotating blades of the machine provide extra leverage to pull out stubborn roots. Additionally, with some models, you can switch out accessories for various tasks, including cultivating soil, dethatching grass, edging flower beds, and much more.
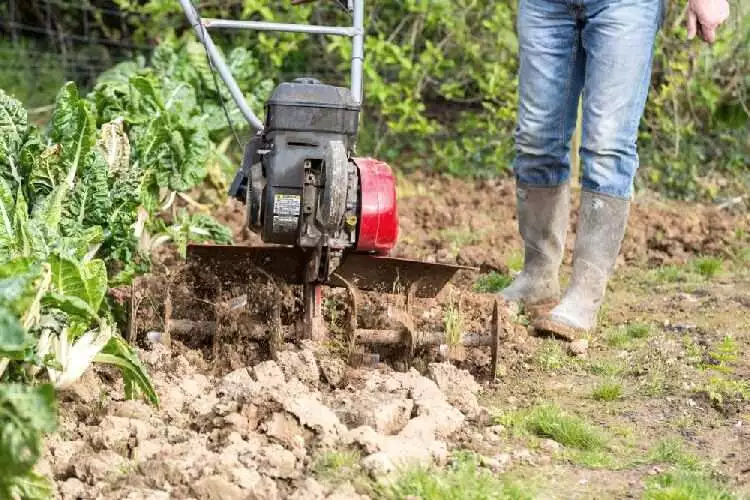
How to use a tiller to remove weeds?
Although using a tiller is an effective way to weed gardens and flower beds, it can be difficult to handle it correctly. Tilling requires precise timing and movements, so if you’re unfamiliar with tilling or don’t have the time, hiring a professional is best.
Not only will they know exactly when to till, but they’ll also be able to help you decide which type of tiller is best for your project. They might even show you some tips and tricks for getting the most out of your machine. Hiring a professional can save you from unnecessary trial and error and make your tilling job much easier.
1. Choose the Right Tiller
When it comes to tillers, there are a few different types available. For general weed removal, the best option is a rotary tiller. This tiller type is designed to dislodge firmly packed soils and break up large chunks of soil. Rotary tillers can also be used to aerate the soil and create new beds. For lighter tasks like edging or making small trenches, you might want to look into a cultivator instead.
Cultivators are typically smaller than rotary tillers and are equipped with blades that help loosen compacted soil and weeds. Additionally, some models come with interchangeable accessories, so you can use them for gardening tasks like weed control, dethatching, cultivating, and more.
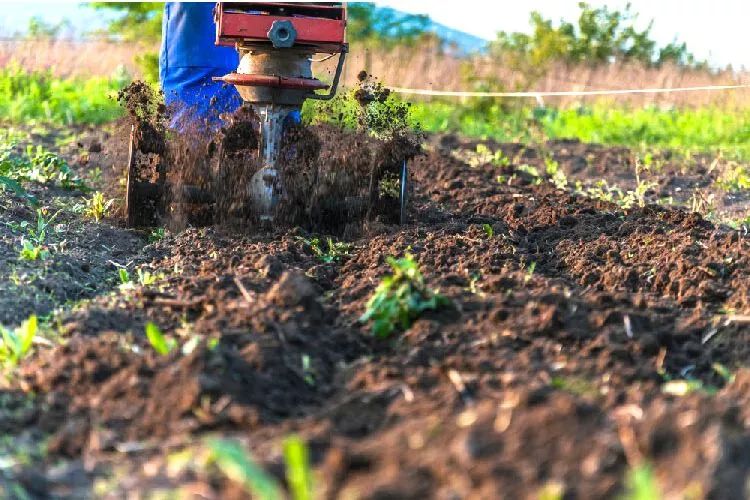
Choosing the right tiller for your specific situation can be a difficult task, but there are a few things you should consider. First, think about how much power you need. You may want to look into a larger model with more horsepower for large projects like creating new beds or breaking up hardpan soil.
Secondly, consider the size of your garden and the type of ground it covers – some tillers are better suited to heavier soils, while others work better in sandy conditions. Finally, pick one that is comfortable for you to handle and has enough features to complete all your tasks. With these guidelines in mind, you’ll be able to find the perfect tiller for your needs.
2. Prepare the Area
When it comes to tilling, preparation is key. Before you begin your project, taking the proper precautions to prevent damage to surrounding plants and structures is important. To start, survey the area and check for any potential obstructions, such as pipes, rocks, roots, or other obstacles that may be in the way of your tiller blades.
Ensure there is enough clearance between obstacles and the blades, so they don’t get damaged or cause any harm while tilling. Additionally, if you have any permanent plantings near where you intend to till (such as trees or shrubs), consider using root guards to protect them from the blades.
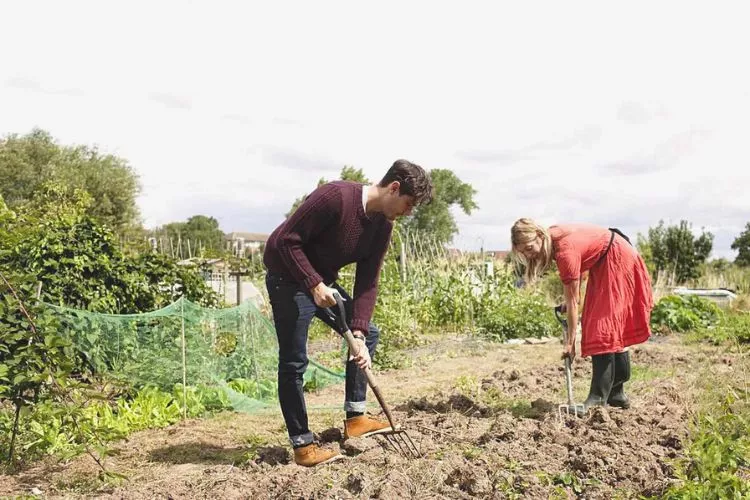
Lastly, secure any nearby fencing or structures that the tiller’s force could potentially knock over. Taking the time to properly prepare will ensure no unnecessary damage occurs during your project.
Preparing the area for tilling is an important step to ensure no unnecessary damage occurs. First, survey the area and check for any potential obstructions, such as pipes, rocks, roots, or other obstacles that may be in the way of your tiller blades. Ensure ample clearance between obstacles and the blades, so they don’t get damaged or cause any harm while tilling.
Additionally, consider using root guards for any permanent plantings near where you intend to till (such as trees or shrubs). Finally, secure nearby fencing or structures that the tiller’s force could potentially knock over. Taking these precautions beforehand will help ensure a successful and safe tilling experience.
3. Tilling Technique
When it comes to tilling for weed removal, proper technique is essential. Start by setting the tiller blades at the correct depth – typically between two and four inches, depending on your purpose and soil type. When you begin to till, use a slow and steady pace so your tiller blades can properly penetrate the soil and remove any weeds or debris in their way.
As you move forward, keep the blades as straight as possible to ensure a consistent depth throughout. After finishing one pass, continue working in rows that overlap slightly from row to row to cover any spots that may have been missed.
Additionally, be mindful of nearby plantings or structures that could potentially be affected by your tiller’s force. Following these steps will help maximize efficiency while ensuring safety for yourself and those around you.
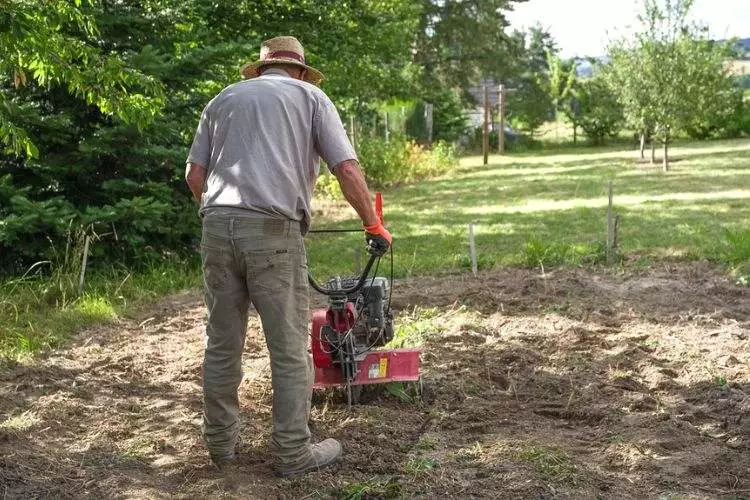
To ensure maximum effectiveness when operating your tiller, it’s important to use the correct blade depth and speed. Start by setting the blades to penetrate the soil between two and four inches, depending on your purpose and soil type.
Ensure that the blades remain straight throughout the tilling process for a consistent penetration depth. When tilling, use a slow and steady pace so your tiller blades can properly remove any weeds or other debris in their way. Be mindful of areas needing extra attention or requiring more than one pass – overlapping slightly from row to row is often necessary.
Finally, take precautions around nearby structures or plantings that could be affected by the force of your tiller’s blades. With these tips in mind, you’ll be able to achieve maximum efficiency while still keeping safety as a top priority.
4. Weed Removal
A tiller is an effective tool for removing weeds as it works to penetrate and break up the soil with its blades. When the tiller blades are set at the correct depth – typically between two and four inches – they’ll cut through the soil, removing any weeds or other debris in their way. As you continue to till, the blades work to churn up the soil and further break down any remains of weeds.
The action of a tiller helping to pull out deep-rooted weeds while churning up soil that can block light from reaching seeds helps to prevent re-growth and potential future weed growth. Tilling also helps expose existing weed seeds left in the ground, helping them to be more easily removed by hand. By following the proper technique, a tiller can be an extremely effective tool for weed removal.
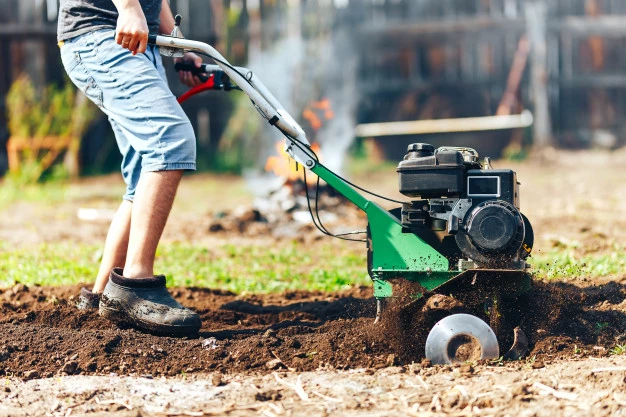
Here are some tips for properly maneuvering a tiller to target weeds:
- Set the tiller blades at an optimal depth of two to four inches, depending on soil type and purpose.
- Move slowly and steadily, overlapping slightly from row to row until you have covered the target area.
- Avoid any structures or plants affected by your tiller’s force.
- Watch for areas that may need extra attention or require a follow-up pass.
- Establish a pattern when moving so you can cover the target area in full without missing any spots.
5. Post-Tilling Care
After using a tiller on your garden, taking care of any post-tilling needs is important. Tilling can leave behind debris, including uprooted weeds or broken pieces of soil that need removal. Removing this debris will help ensure the area is ready for planting and that no pests or diseases will linger.
Additionally, you should use a rake or hoe to carefully level the area and smooth out any large bumps or ridges the tiller creates. This will allow more even growth when you plant your seeds.
Lastly, examine the soil afterward and add compost or other additives as needed to ensure it is in ideal condition for germination. By following these steps after tilling, you can ensure your garden is well taken care of and ready for planting!
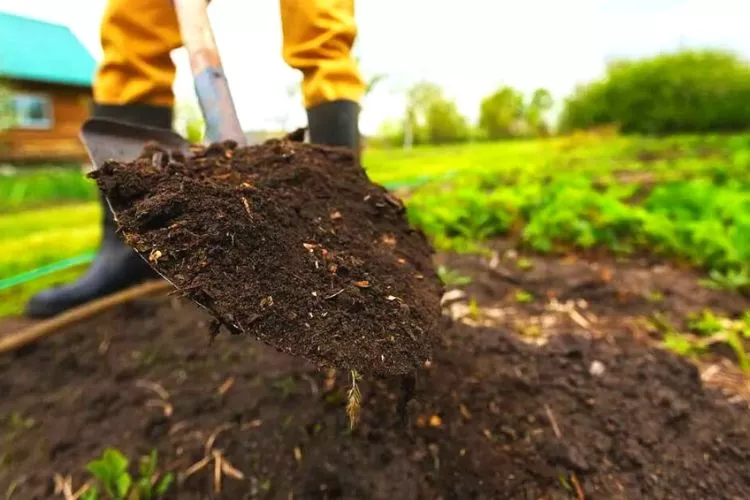
Here are some tips for properly caring for a tilled area after weed removal:
- Use a rake or hoe to level the area, removing any large bumps and ridges created by the tiller.
- Examine the soil and add compost or other additives to ensure it is in ideal condition for planting.
- Spread mulch over the area to reduce weeds, retain moisture, and keep temperatures steady throughout the growing season.
- Water regularly and deeply once you have planted your seeds to promote strong root development and healthy growth.
- Monitor the area closely and remove any weeds that pop up quickly, so they don’t reseed or spread further.
Other Useful Articles: Pros and Cons of Dethatching Lawn | How To Turn Yellow Grass Green
Frequently Asked Questions (FAQs)
Should you kill weeds before tilling?
Yes, it is best to kill weeds before tilling to prevent them from spreading. This can be done with a herbicide or spot-treating with boiling water. Killing the weeds before tilling reduces the time and energy needed to work the soil and helps promote healthier growth in your garden.
Do you push or pull a tiller?
You should always push a tiller forward and never pull it back. Pushing the tiller helps ensure that the blades effectively dig into the soil, making it easier to operate. Pulling a tiller can cause damage to both the machine and the ground, leading to inefficient results.
Should I wet the ground before tilling?
Yes, it is important to wet the ground before tilling. Tilling dry soil can lead to clumping, making it difficult for roots to penetrate and grow. Watering the ground helps ensure the tiller blades easily cut through and mix the soil, resulting in a smoother tilth.
Can I use a tiller if I have a sprinkler system?
Yes, you can use a tiller if you have a sprinkler system. However, when tilling near the sprinklers, it is important to be mindful of their placement and the water pressure they are set at. It may be necessary to adjust the settings to prevent soil from being too wet and clogging up the tiller blades.
Conclusion:
In conclusion, tilling is an effective way to remove weeds from the soil and prepare it for planting. When using a tiller, make sure to wet the ground beforehand and be mindful of any sprinkler systems that may be nearby. It is important to stay on top of regular maintenance for the tiller, so it continues to operate in its best condition. With the right technique and following the above step by step guide on I have written a complete guide on how to use a tiller to remove weeds, you can ensure your garden remains perfectly weed-free!


